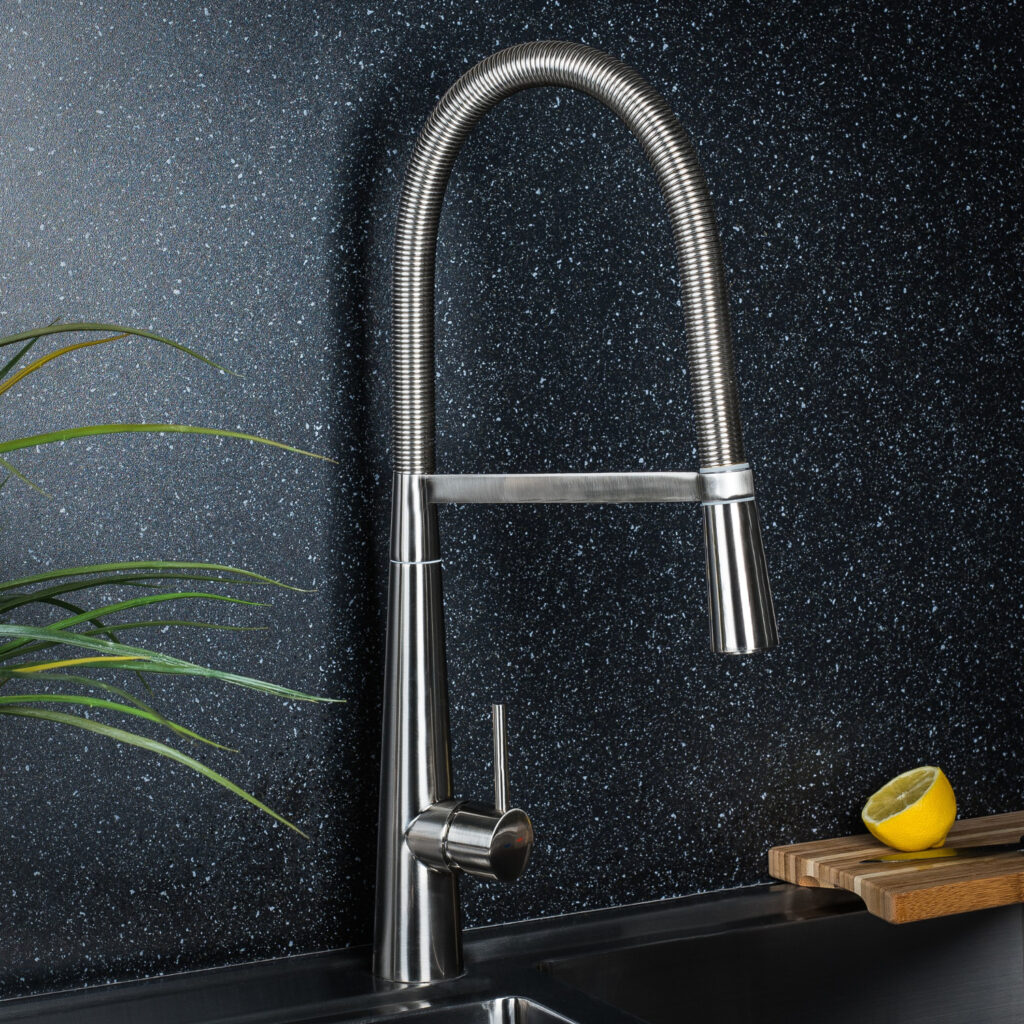
Fixing a Delta Faucet Like a Pro
You know what they say, when life gives you leaky faucets, you fix them yourself! And if that faucet happens to be a Delta Faucet, then you’re in luck. We’ll show you how to repair a Delta Faucet like a pro and save you some money in the process. So grab your tools and let’s get started!
Step 1: Your Faucet Type and Parts Needed
First things first, identify which type of Delta Faucet you own. Several kinds require different parts and tools for repair. If it is an older model, chances are the part won’t be available but depending on the condition of the faucet, it might still be worth attempting repairs.
Step 2: Shut Off Water Supply and Drain Water from the Pipes
To begin repairing a Delta Faucet, shut off both hot and cold water supplies at the main valve or stopcock under the sink. If this is not possible because of limited space or access, turn off both supplies at the water heater instead. Once all valves are shut off completely, open both the hot and cold sides of the faucet to drain any remaining water from the pipes. Use an adjustable wrench to loosen and remove any existing connections from under the sink before attempting any further work on the faucet itself.
Step 3: Remove Existing Parts and Replace Them with New Ones
The next step is to remove any existing parts from inside the faucet so that you can start replacing them with new ones if necessary. To do this, use an Allen wrench or screwdriver to unscrew any screws holding these parts together before removing them from the inside. The most common parts that need replacement are washers, O-rings, gaskets, and valves; all of which can be found online or in your local hardware store. Once all old pieces have been removed, replace them with new ones and reassemble them according to the manufacturer’s instructions.
Step 4: Put Everything Back together and Test Out Your Newly Repaired Faucet
Finally, it’s time to put everything back together again! With all new parts installed securely in place, reattach all connections beneath the sink using the plumber’s tape thread sealant around each connection as needed before tightening everything completely with a wrench or screwdriver again. Turn on hot and cold water supplies again making sure there is no leakage coming out anywhere before testing out your newly repaired Delta Faucet.
Bottom Line
Repairing a Delta Faucet doesn’t have to be complicated or expensive – follow our simple guide for doing it like a pro! All you need are basic tools, such as pliers, wrenches, and screwdrivers along with some basic understanding of plumbing principles; plus patience and attention to detail will go a long way too! With these tips, you’ll soon have your Delta Faucet working like new again in no time at all.
When you need to repair your Delta Faucet, don’t settle for anything less than the best. Discount Plumbing Rooter Services. is a trusted plumbing specialist with years of experience in dealing with Delta faucet repairs. Keep your home safe from costly water damage by entrusting your leaking faucet to the professionals at Discount Plumbing Rooter Services Contact us today for all your plumbing needs!


