


The kitchen serves as the heart of a home, and a properly functioning sink holds significant importance within this space. However, plumbing work can appear daunting to those unfamiliar with it. The encouraging news is that with the appropriate tools and a touch of patience, most homeowners can easily tackle basic plumbing tasks themselves.
In this blog post, we’ll guide you on connecting kitchen plumbing and mounting the sink. Follow these steps to gain confidence and successfully complete these tasks easily and safely.
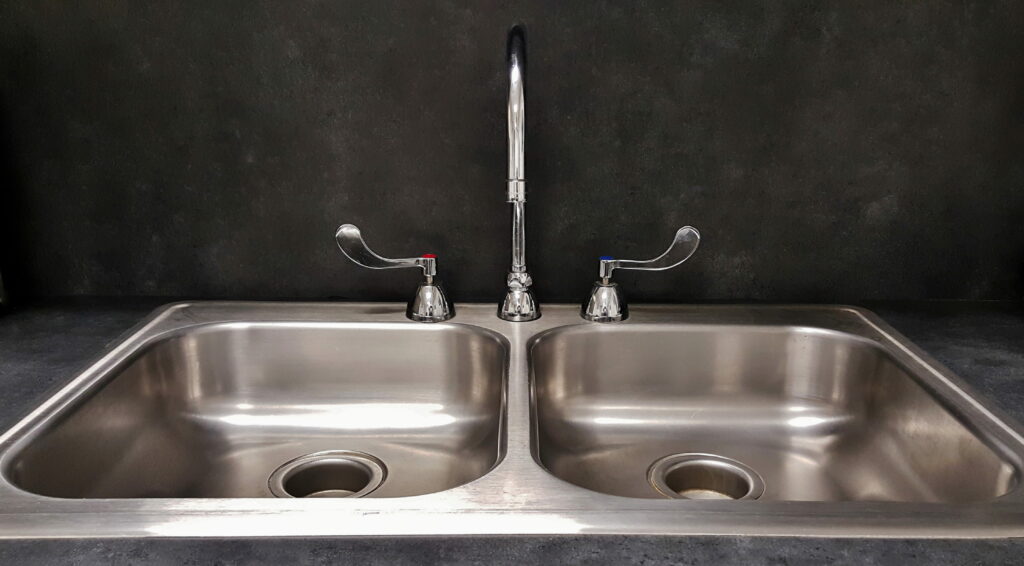
Essential Guide to DIY Kitchen Plumbing: Connecting and Mounting the Sink with Expert Precision
Materials and Tools You’ll Need
To connect plumbing and mount your sink, you’ll need P-trap connectors, Teflon tape, a plumber’s wrench, pliers, tailpiece extensions, silicone sealant, and a putty knife. These items are readily available at hardware stores, some even offering project-specific kits.
Disconnecting the Old Plumbing and Sink
The first step in any sink installation is to disconnect the old plumbing and sink. Turn off the water to the sink at the shut-off valves, and remove the old sink by cutting away any caulk and unscrewing the mounting screws. Next, loosen the nuts holding the P-trap pipe and tailpiece in place, and remove them.
Connecting the New Plumbing
With the old plumbing removed, it’s time to connect the new plumbing. Start by installing tailpiece extensions on the sink drain and faucet. Apply Teflon tape to the threads of the hardware, and attach the tailpiece extensions using a plumber’s wrench and pliers. Install the P-trap connector onto the tailpiece, and tighten all connections with the wrench and pliers.
Mounting the Sink
Once the plumbing is done, the subsequent task is to install the sink. Start by delicately applying a fine coat of silicone sealant to the underside of the sink rim, and then carefully lower the sink into its designated position. Align the sink perfectly with the countertop and proceed to insert mounting clips into the pre-cut slots situated along the sink’s edge. Using a screwdriver, carefully tighten the screws on the clips, ensuring not to over-tighten them.
Finishing Touches
After securely mounting the sink and establishing proper plumbing connections, proceed to install the faucet as per the manufacturer’s instructions. Once completed, turn the water back on and meticulously inspect all connections for any potential leaks. Adjust if necessary. Use a putty knife to remove excess silicone sealant around the sink rim.
Sink Installation Made Easy: A Homeowner’s Guide to Connecting Kitchen Plumbing
Connecting plumbing and installing a sink may seem daunting, but with the right tools, materials, and a little patience, it’s a manageable project for most homeowners. Follow the steps in this post for a safe and secure installation, ensuring a properly functioning sink. Happy plumbing!
After installing your sink, it is important to have the necessary service and maintenance support for peace of mind. Discount Plumbing Rooter, Inc. has been providing kitchen plumbing services to residents in the area for years, ensuring your sink stays in top shape. Visit our website or call us to learn more about our kitchen plumbing services!